Why Do I Want to Do This?

The first situation is ideal, as the printer itself connects directly to the cloud and there is no need for an intermediary. Barring that, however, it should be your goal to make sure the intermediary is wasting as few resources as possible. Leaving a desktop computer on 24/7 for the sole purpose of functioning as a Cloud Print server is a whole lot of resources for a job that requires very little horsepower.
In order to cut back on the resources wasted, we’ve opted to turn a tiny, low-power Raspberry Pi device into an ultra lightweight Cloud Print Server. The best part about this setup is that the Raspberry Pi can continue to perform other roles. For example, our Raspberry Pi Cloud Print Server is also the same device functioning as our Raspberry Pi Weather Indicator. It takes so few resources to do both jobs (spool up the occasional print job and run a simple script to check the weather and toggle an LED) that there’s no reason to not stack the tasks and get more out of our Raspberry Pi purchase.
What Do I Need?
Installing Chromium
To get started, open up the terminal on your Raspberry Pi and enter the following command:
sudo apt-get install chromium-browser
When prompted, type Y and hit enter to continue the installation. The installation isn’t enormous, but it’s big enough; a ten minute trip to the break room to grab a cup of coffee is certainly a reasonable way to kill the installation time.
Once Chromium is installed, we need to launch it from the desktop environment. You can find it in Raspbian’s start menu under Internet -> Chromium Web Browser:

After launching Chromium, navigate to the menu icon in the upper
right corner, click it, and then select “Settings”. Scroll down in the
Settings window until you see “Advanced Settings” and, after clicking
that, continue scrolling down through the expanded settings options
until you see the entry for Google Cloud Print:

Click “Add Printers”. You’ll be kicked over to an authorization page like so:
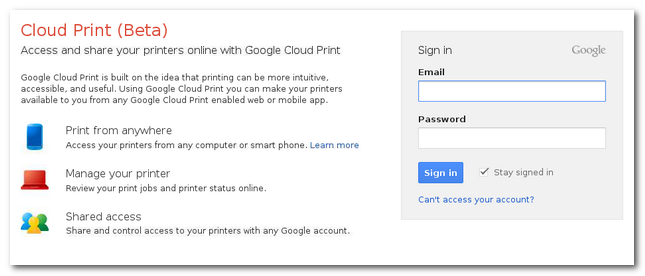
Fill in the Google account credentials of the account you use to
manage your Cloud Printers. Make sure “Stay signed in” is checked, since
this is going to be a stand alone print server we don’t regularly
interact with.
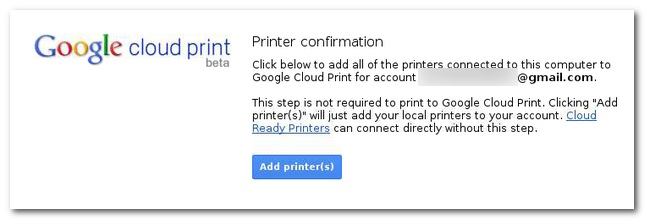
After authorizing your account, you’ll see the “Add printer(s)”
button. Whichever printers the Raspberry Pi has access to (be they local
or networked) will be added to your Google Cloud Print account. If
those printers were previously added by some other means, you’ll want to
visit your Cloud Print management page to remove the older entries.
After clicking the Add button, you’ll see a confirmation page
indicating that the printers were added and you’re ready to start
printing. Now is a perfect time to fire off a test print:

Roughly 10 seconds or so after we fired off the print job, it spooled up on the networked printer:

While we initially had concerns that the Cloud-to-Pi-to-Printer
workflow would be slow (not that blistering speed is really that
critical in most printing situations), those concerns have never been
validated. Even with larger PDF files, the process is only marginally
longer than your typically lengthy printing-a-big-PDF wait.
After running your test print, you can close Chromium on the Pi as
the print server will continue to run in the background. Now you can
enjoy print-from-anywhere convenience for around a quarter a month (the
Raspberry Pi consumes so little energy that the average annual operating
cost is around $3).
Source: howtogeek.com
The post Turn a Raspberry Pi into a Google Cloud Print Server appeared first on Cloud Media News.